
Uncategorized
Mushroom Spore Microscopy Equipment Checklist
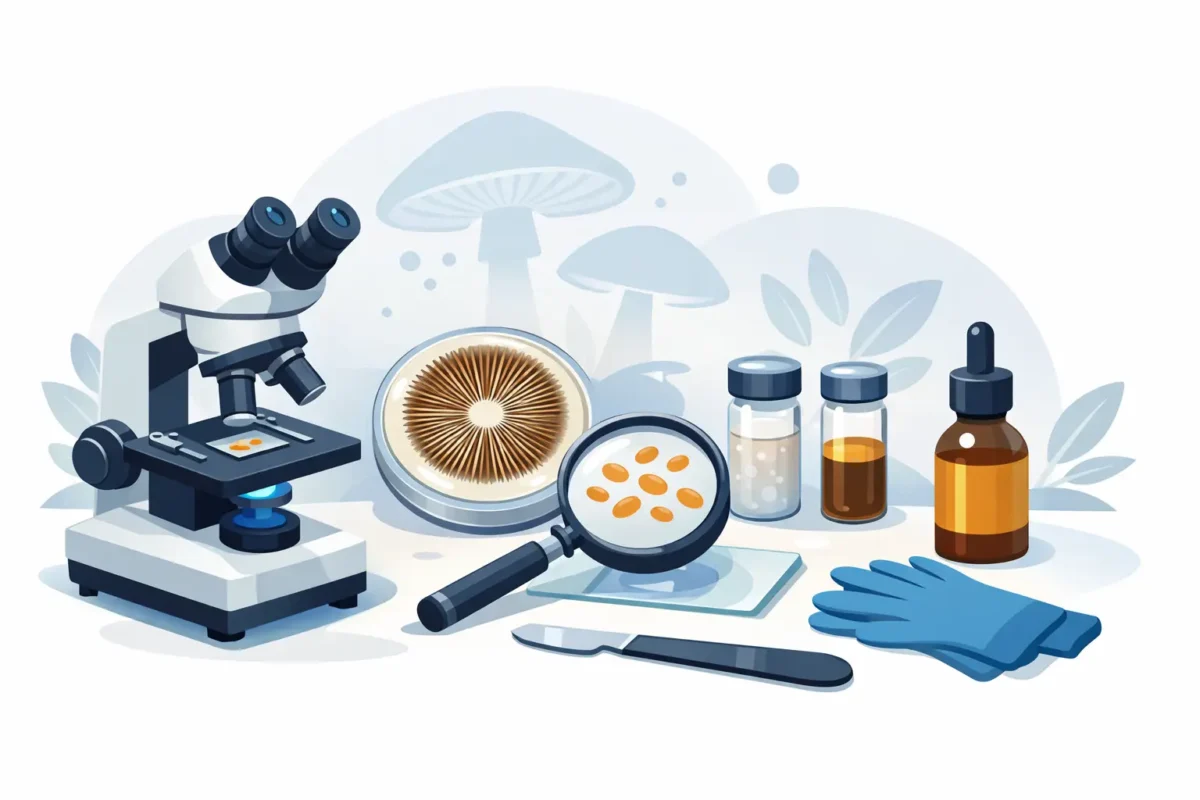
Aug
A mushroom spore microscopy equipment checklist keeps the first observation session simple, clean, and worth your time. You do not need a packed laboratory bench or expensive gear to see meaningful detail. You need a dependable microscope, clean slide supplies, controlled lighting, and a way to record what you observe without turning the process into guesswork.
For collectors and lab-minded mushroom enthusiasts, microscopy is where labels stop being the whole story. Spore color, shape, surface texture, and size can all become visible when the setup is right. Build the basics first, avoid buying gimmicks, and get your viewing station ready before you ever make a slide.
The Core Mushroom Spore Microscopy Equipment Checklist
The essential setup starts with a compound light microscope. This is not the same as a low-power dissecting microscope or a basic children’s scope. A compound microscope with 40x, 100x, 400x, and preferably 1000x total magnification gives you practical range for examining spore deposits and prepared wet mounts.
For most routine work, 400x is where the useful action happens. It gives enough detail to see individual spores clearly while remaining easier to focus and illuminate. A 1000x oil-immersion objective can reveal finer features, but it is not mandatory on day one. It also requires immersion oil, careful cleaning, and a steady hand. Buy it when you know you will use it, not because a product page says bigger numbers always mean better results.
Your core equipment should include:
- A compound microscope with mechanical stage controls and built-in LED illumination
- Clean glass microscope slides and thin cover slips
- A fine-tip transfer tool, inoculation loop, or disposable needle for moving tiny samples
- Distilled water and a small dropper or transfer pipette
- Lens paper, microfiber cloths, and a blower for optical cleaning
- Nitrile gloves, isopropyl alcohol, and a clean work surface
- A notebook or digital log for dates, sample identifiers, magnification, and observations
This is the foundation. If your budget is limited, spend more on the microscope’s optics and stage stability than on a large bundle of accessories. A shaky stage, poor focus knobs, and dim lighting will frustrate you faster than a missing specialty stain.
Choose a Microscope That Does Real Work
A good beginner-to-intermediate microscope should have achromatic objectives, coarse and fine focus controls, an adjustable condenser, and a mechanical stage. Those features matter more than flashy packaging. Fine focus is especially important once you move beyond low magnification, because the area that stays sharply visible becomes extremely thin.
LED lighting is usually the practical choice. It runs cool, lasts a long time, and lets you adjust brightness without constantly replacing bulbs. Look for a condenser with an iris diaphragm as well. The diaphragm controls the cone of light reaching the specimen, and small adjustments can dramatically improve contrast.
Do not confuse digital zoom with optical quality. Some budget digital microscopes advertise enormous magnification numbers while delivering a soft, enlarged image with little added detail. A traditional compound microscope paired with a phone adapter often produces better documentation for less money.
If you plan to inspect multiple samples, a binocular viewing head is more comfortable than a monocular model. It reduces eye strain during longer sessions. That said, a solid monocular compound microscope can still be a smart entry-level purchase if it has reliable optics and proper focus controls.
What magnification should you use?
Start at 100x total magnification to locate the sample and check whether the slide is too crowded. Move to 400x for observation and comparison. Use 1000x only when you have a clean, thin preparation and want to inspect finer structural detail. High magnification does not fix a messy slide. In fact, it makes clutter, air bubbles, and poor lighting much more obvious.
Slide Supplies Make or Break the View
The microscope is only half the setup. A poor slide preparation can turn even excellent optics into a blur of debris. Keep standard glass slides and No. 1 or No. 1.5 cover slips on hand. Thin cover slips are designed to work with common microscope objectives, while thick or scratched glass can reduce image quality.
Distilled water is useful for basic wet mounts because it is free of the minerals and residue that can show up in tap water. Use a tiny drop. Too much liquid makes the cover slip float, allows the sample to drift, and creates a thick layer that is difficult to focus through.
A fine-point tool matters because spore material is easy to over-handle. You need very little sample for microscopy. A barely visible amount placed into a small drop of water can be enough. Press the cover slip down gently at an angle to reduce trapped air bubbles, then blot excess liquid from the edge with clean absorbent paper if needed.
Keep slides, cover slips, and tools protected from dust. Store them in closed containers, not loose on a shelf beside incense, pet hair, food, or random household clutter. Clean handling makes your observations easier to interpret and your results easier to document.
Optional Tools That Add Real Value
Once the basics are covered, a few upgrades can make the process more consistent. They are useful, but they are not required for a first setup.
A phone microscope adapter is one of the most practical additions. It lets you capture reference images, compare samples over time, and share a clearly framed observation with a knowledgeable microscopy community if you need a second opinion. Use the phone’s standard camera when possible. Heavy digital zoom usually lowers image quality.
A stage micrometer is another smart upgrade. It is a calibrated slide used to measure the scale visible through your microscope. After calibration, an eyepiece reticle can help you estimate spore dimensions rather than relying on vague descriptions like “small” or “large.” Measurements are only as good as your calibration, so record which objective you used each time.
Prepared reference slides can also be valuable for learning what good focus, useful illumination, and normal optical artifacts look like. They help separate actual specimen features from dust, scratches, oil residue, and bubbles. If you add stains or reagents later, follow their safety directions carefully, work with ventilation, and label every container. More chemicals do not automatically mean better microscopy.
Set Up a Clean Observation Station
Choose a stable table away from open windows, fans, and high-traffic areas. Vibration can make fine focus irritating, while moving air carries dust directly onto slides and lenses. Wipe down the work surface before you begin, then keep only the items needed for that session within reach.
Gloves are useful when handling samples and cleaning materials, but they are not a substitute for clean technique. Change them if they touch unrelated surfaces. Keep food, drinks, and smoke away from the observation area. That rule protects your equipment as much as it protects your workspace.
Before viewing a slide, clean the microscope lenses with lens paper or a dedicated microfiber cloth. Do not use paper towels, tissues, shirt fabric, or harsh household cleaners on optics. These can scratch coatings or leave fibers behind. If you use immersion oil, remove it from the oil objective immediately after the session according to the microscope manufacturer’s cleaning guidance.
Document What You Actually See
A microscopy session becomes more useful when the notes are specific. Record the sample label or code, date, slide medium, objective magnification, and anything unusual about the preparation. Add notes on spore color in deposit, apparent shape, clustering, focus quality, and whether debris or air bubbles affected the field of view.
Photos help, but they should not replace notes. Camera exposure can alter perceived color, and a single image may not represent the whole slide. Capture several fields of view, especially when a sample appears uneven. Consistent documentation is how you spot patterns instead of relying on memory.
Avoid making sweeping identification claims from one feature alone. Spore appearance can support a broader observation, but accurate identification often depends on multiple features, specimen context, and experienced analysis. Microscopy is powerful precisely because it rewards careful comparison, not rushed certainty.
Know the Boundaries Before You Buy
Microscopy equipment is lawful and widely used for education, research, and hobby observation. Laws surrounding mushroom spores, controlled species, and psychoactive substances can vary by country, state, and local jurisdiction. Check the rules that apply where you live before ordering or handling any specimen, and keep all activity within those limits.
At psychedelicdiscreetshops, the practical message is simple: get the right viewing tools first, keep the station clean, and make every observation count. A well-chosen microscope, a few quality slide supplies, and disciplined notes will take you further than an oversized kit full of accessories you never touch. Start with clear optics and clean slides, then let careful observation set the pace.

